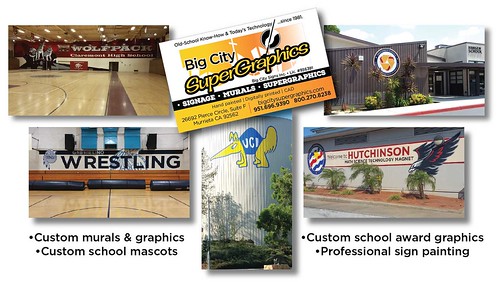
School Graphics are our specialty – download the flyer here…

Your GO-TO sign painter – Old school know-how with today's technology – since 1981.
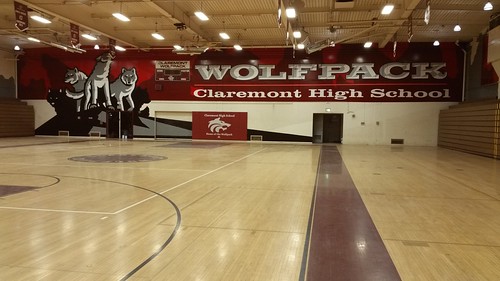
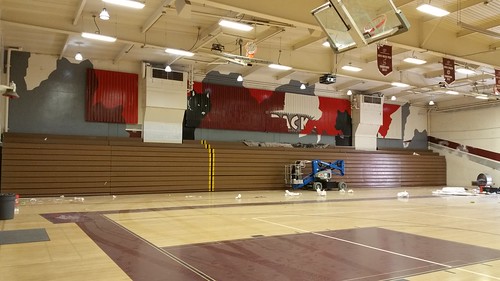
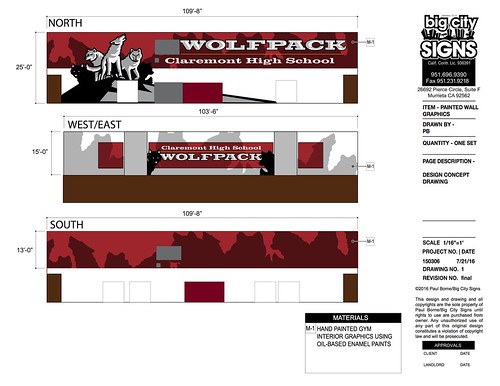
Gym graphics were the project at hand recently – this time, all four interior walls of this gym at Claremont High School in Los Angeles County, CA. Our design included shadowy wolves staring down this school’s sports competition!
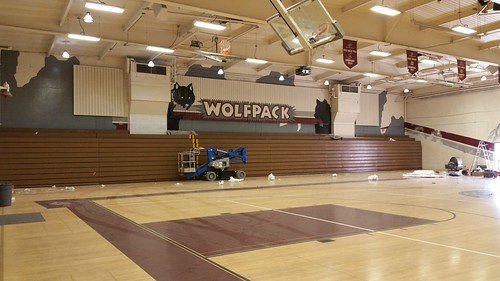
First, photos of the finished product. Then, some progress photos below.
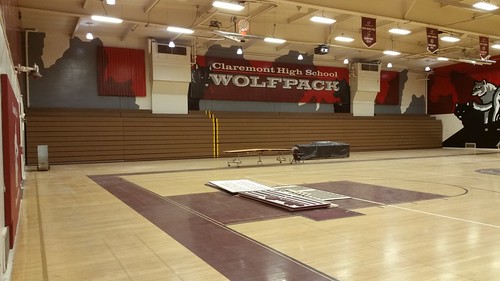


This old gym had existing graphics that were painted around 2007. These photos show how the old graphics began disappearing under new paint:
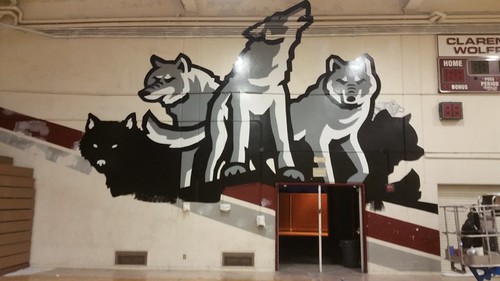
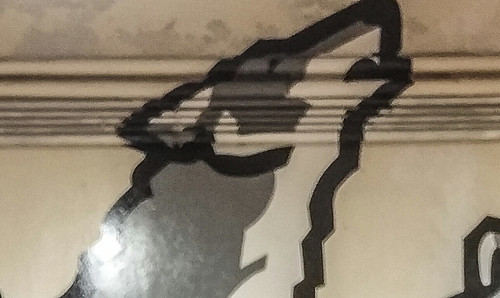
Next: the focal point, which I ended up calling “Wolf Hill”:
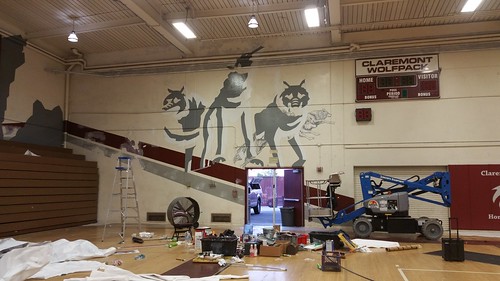
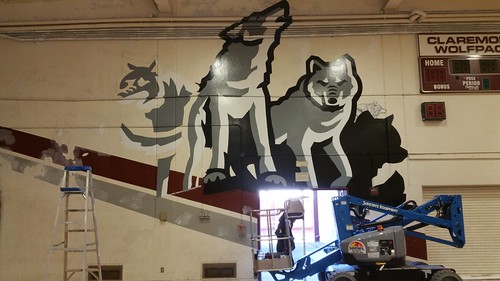
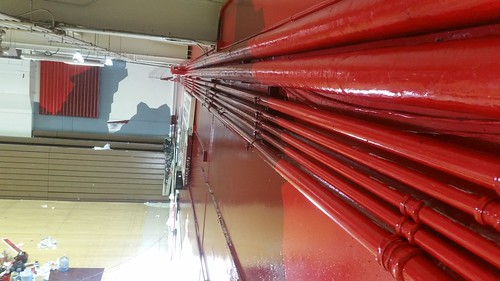
Note the conduits / ducts that were unavoidable. My job is to make them disappear! Painting over these with care to continue the lines of the surrounding graphics requires an enormous amount of extra work to do, but the result is they “disappear” in the final product.
It started, as always, with a design drawing (below). It ended with more than 15 gallons of paint applied with much care to the school gym walls. Everyone was happy to see the final product – another successful gym graphics school pride project!
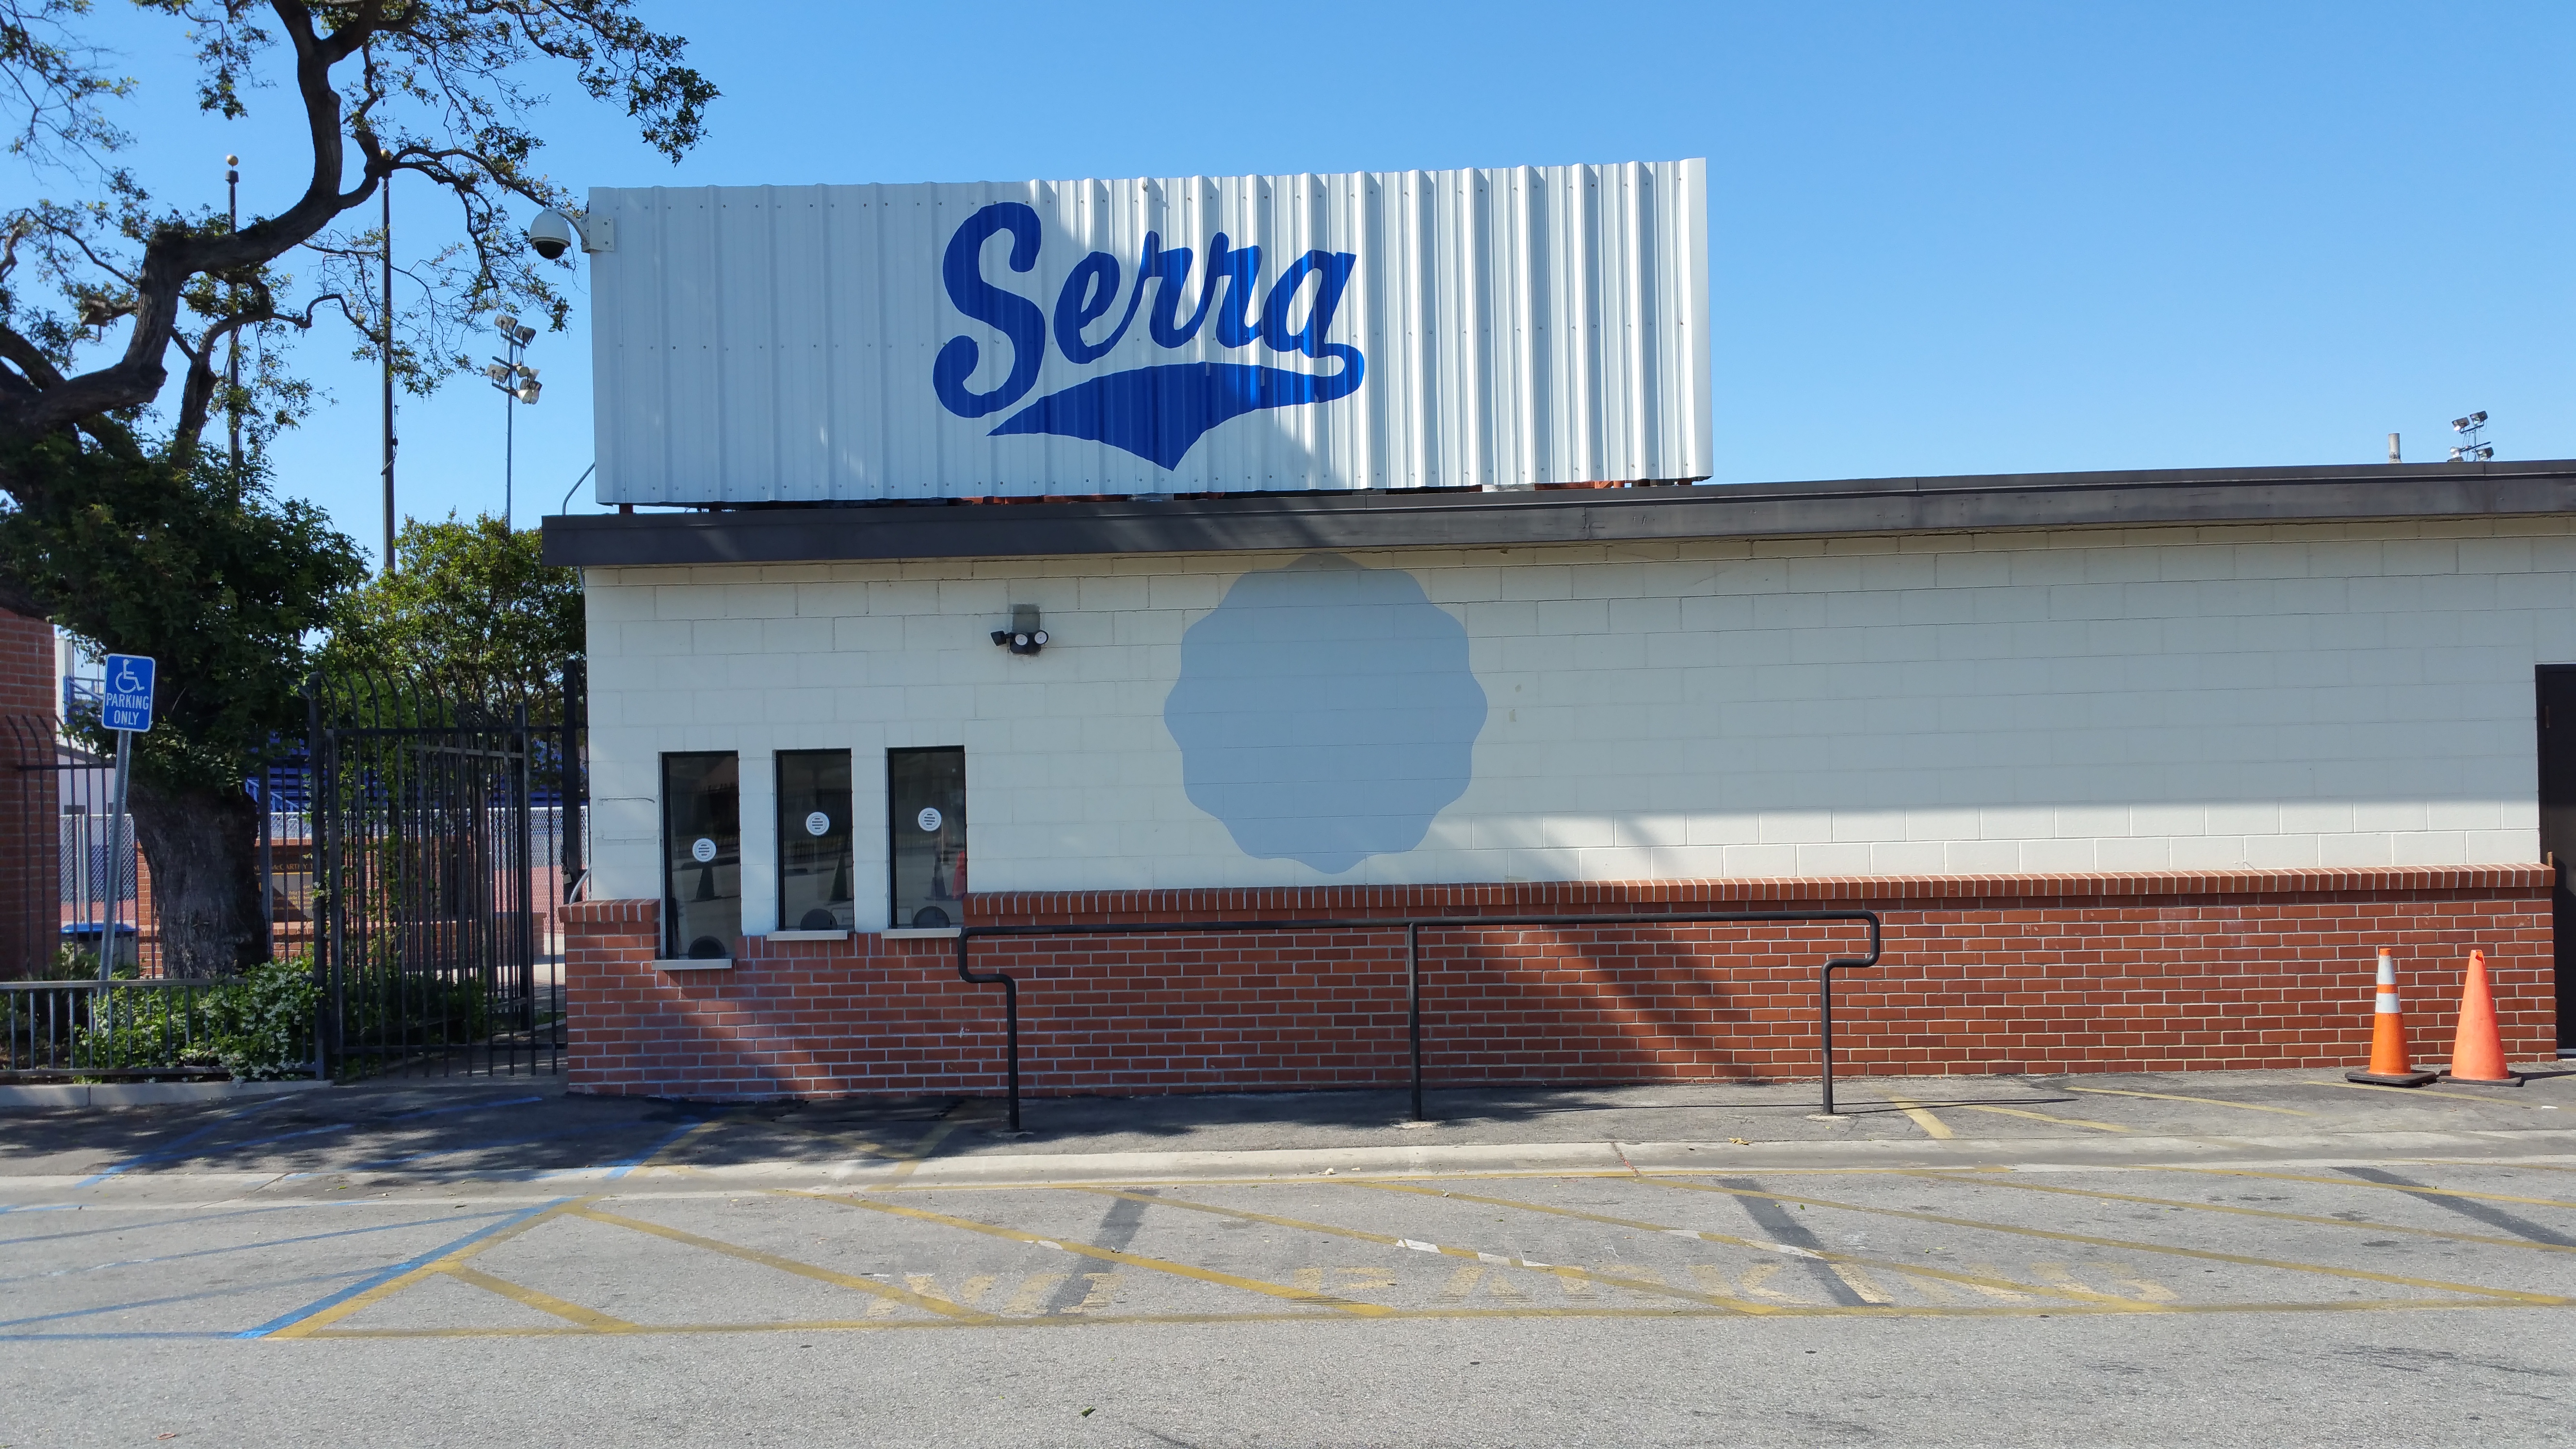
This sign painter was asked to transform the sports facility at Serra High School in Gardena, just outside of Los Angeles CA with hand painted signs and other graphics commemorating their sports championships. The place to start this project was the parking lot side of a snack-bar building that faces the parking lot, at the entrance to the football field. Along with that, we provided a unique, permanent display attached to the football scoreboard posts, and a digitally printed mesh banner for the baseball side of things.
Here are the results:
The wall facing the parking lot at the entrance to the football field — here’s the before picture — a perfect location for what they wanted to do:

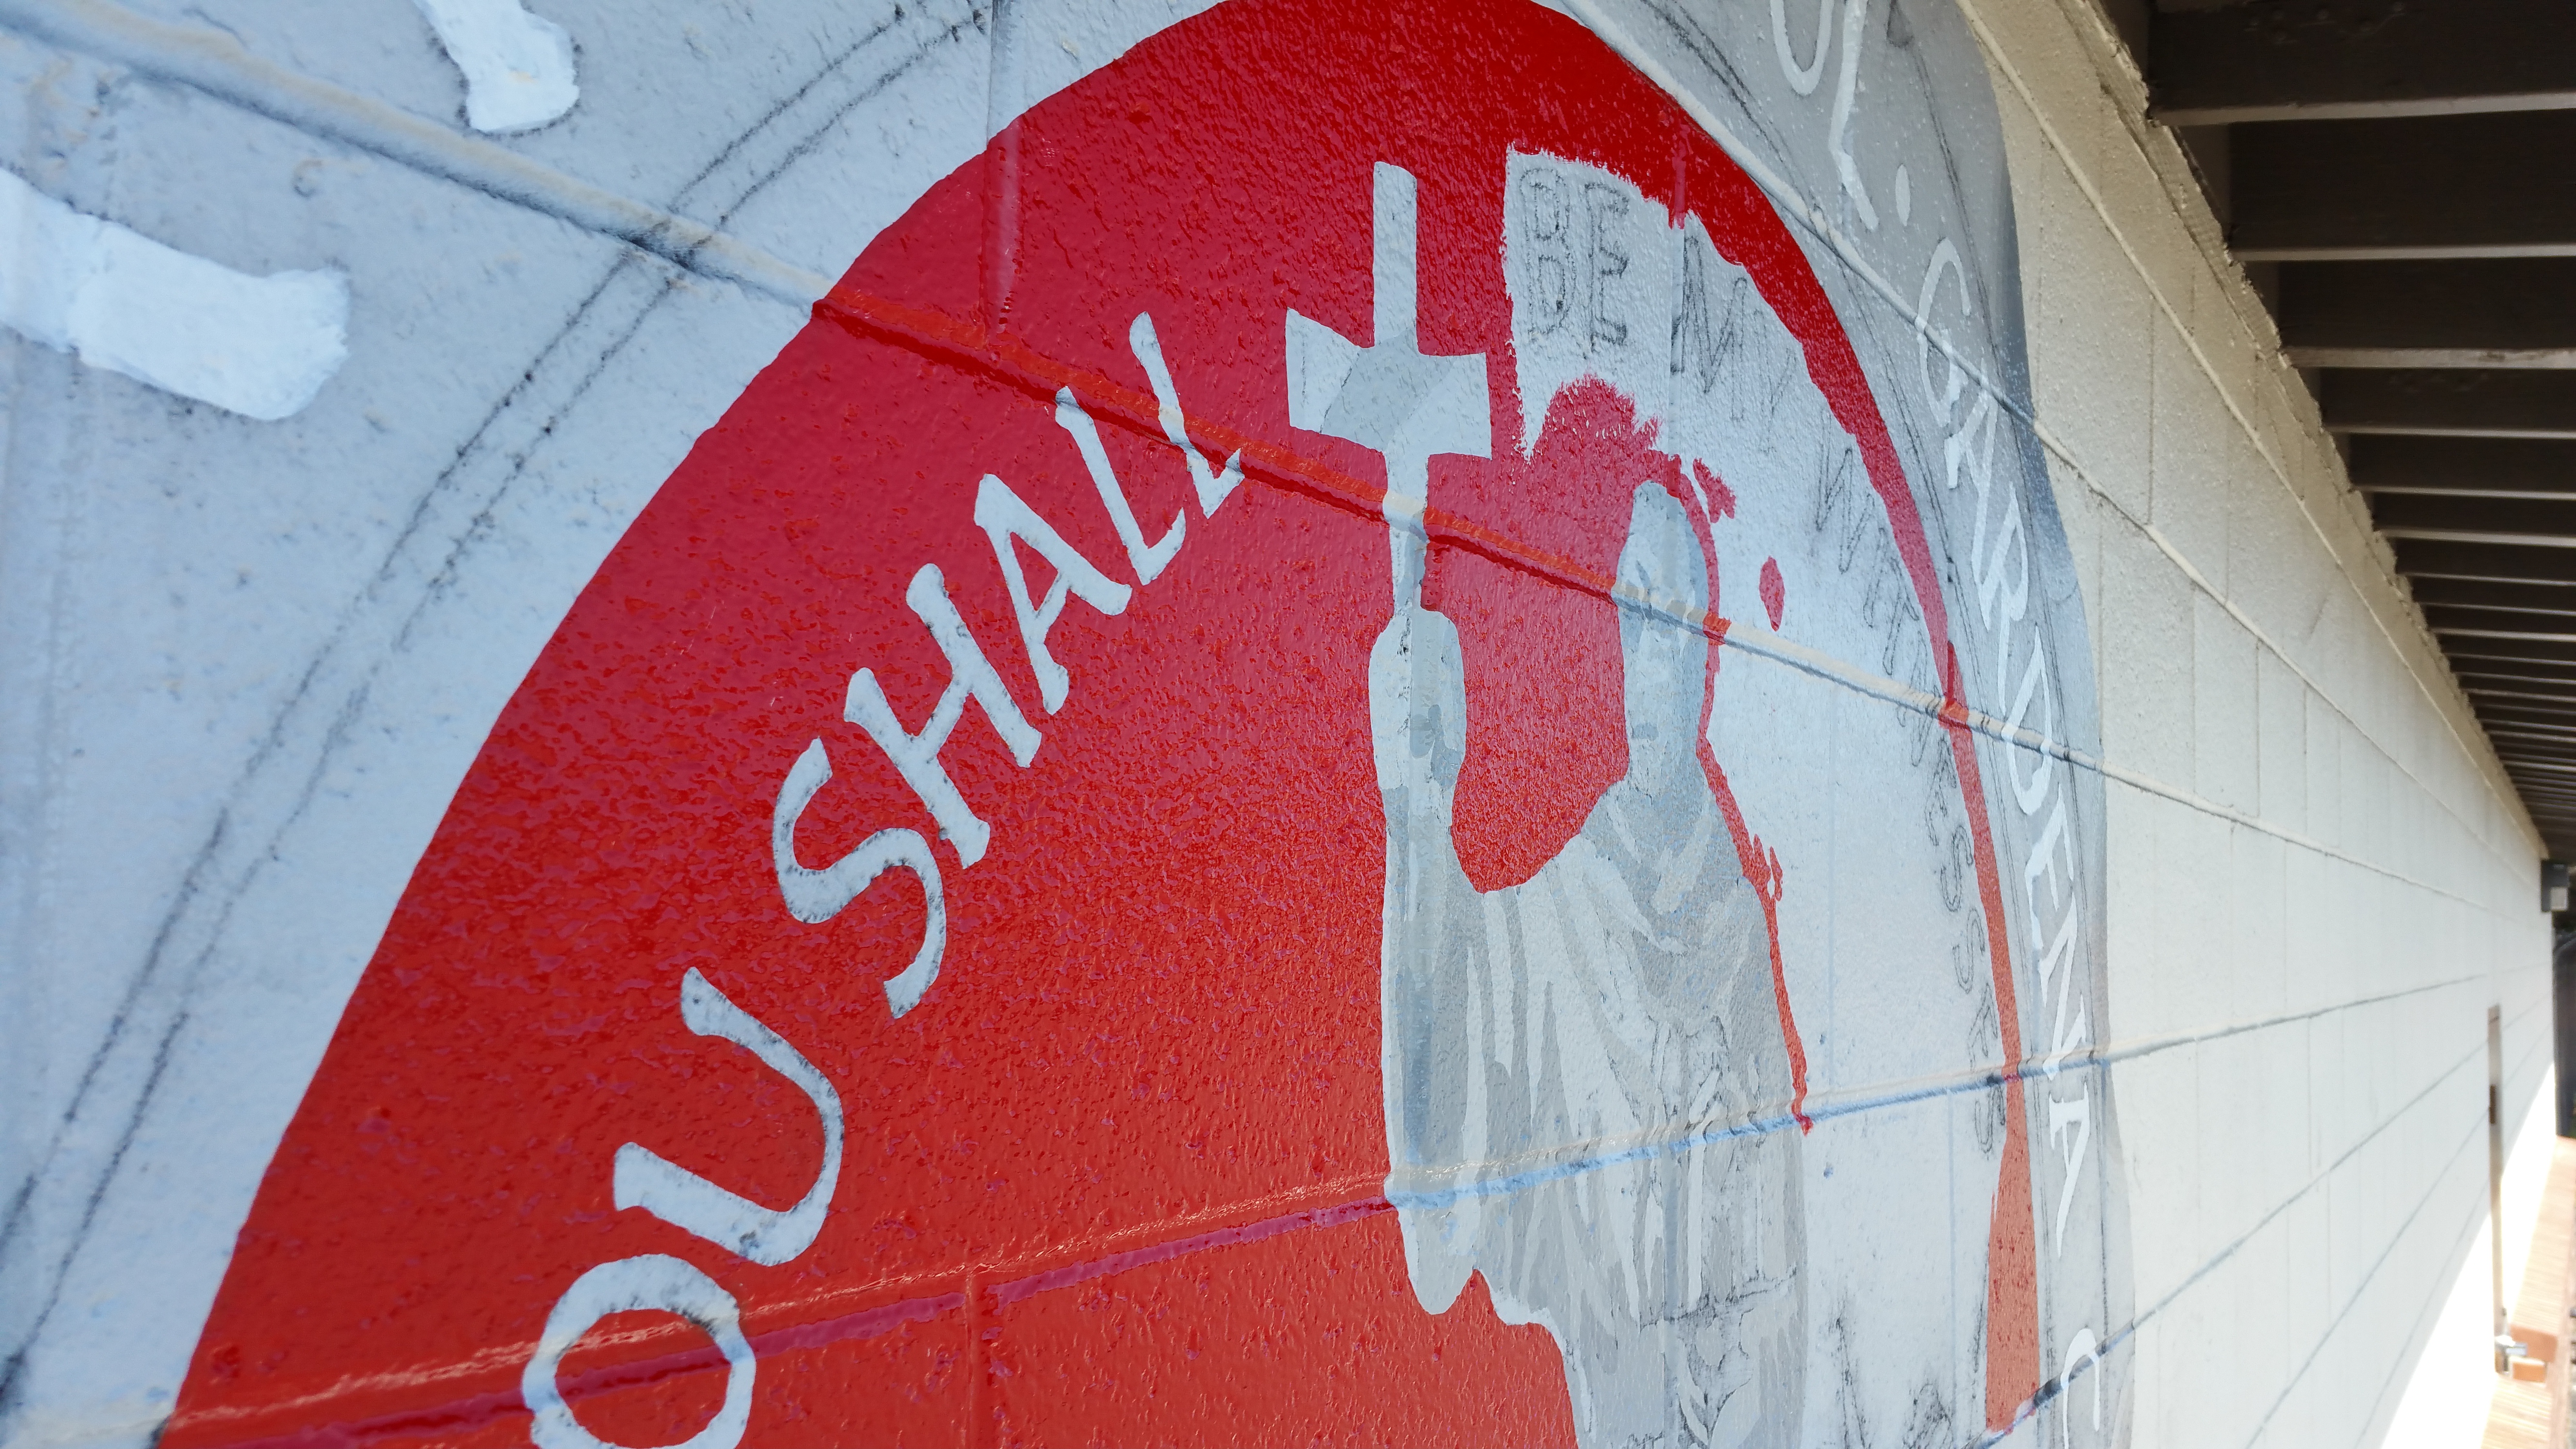
First, sign painting – the school logo on the rooftop screen wall, and a base coat for the school seal mural:
Next, I start laying in colors on the seal mural. White for the letters, grays for the Father Serra illustration, red cut in around it all for the background, blue cut in around the outer letters:


Look, ma! Halfway there:

One of the helpful tricks I use is to print out a scale version of the larger finished work so I’ll know where I’m going. Here is the finished seal with the scale rendering:


Then, the lettering. Here’s a detail of that part of the project:

Here’s the completed wall — that part’s done!

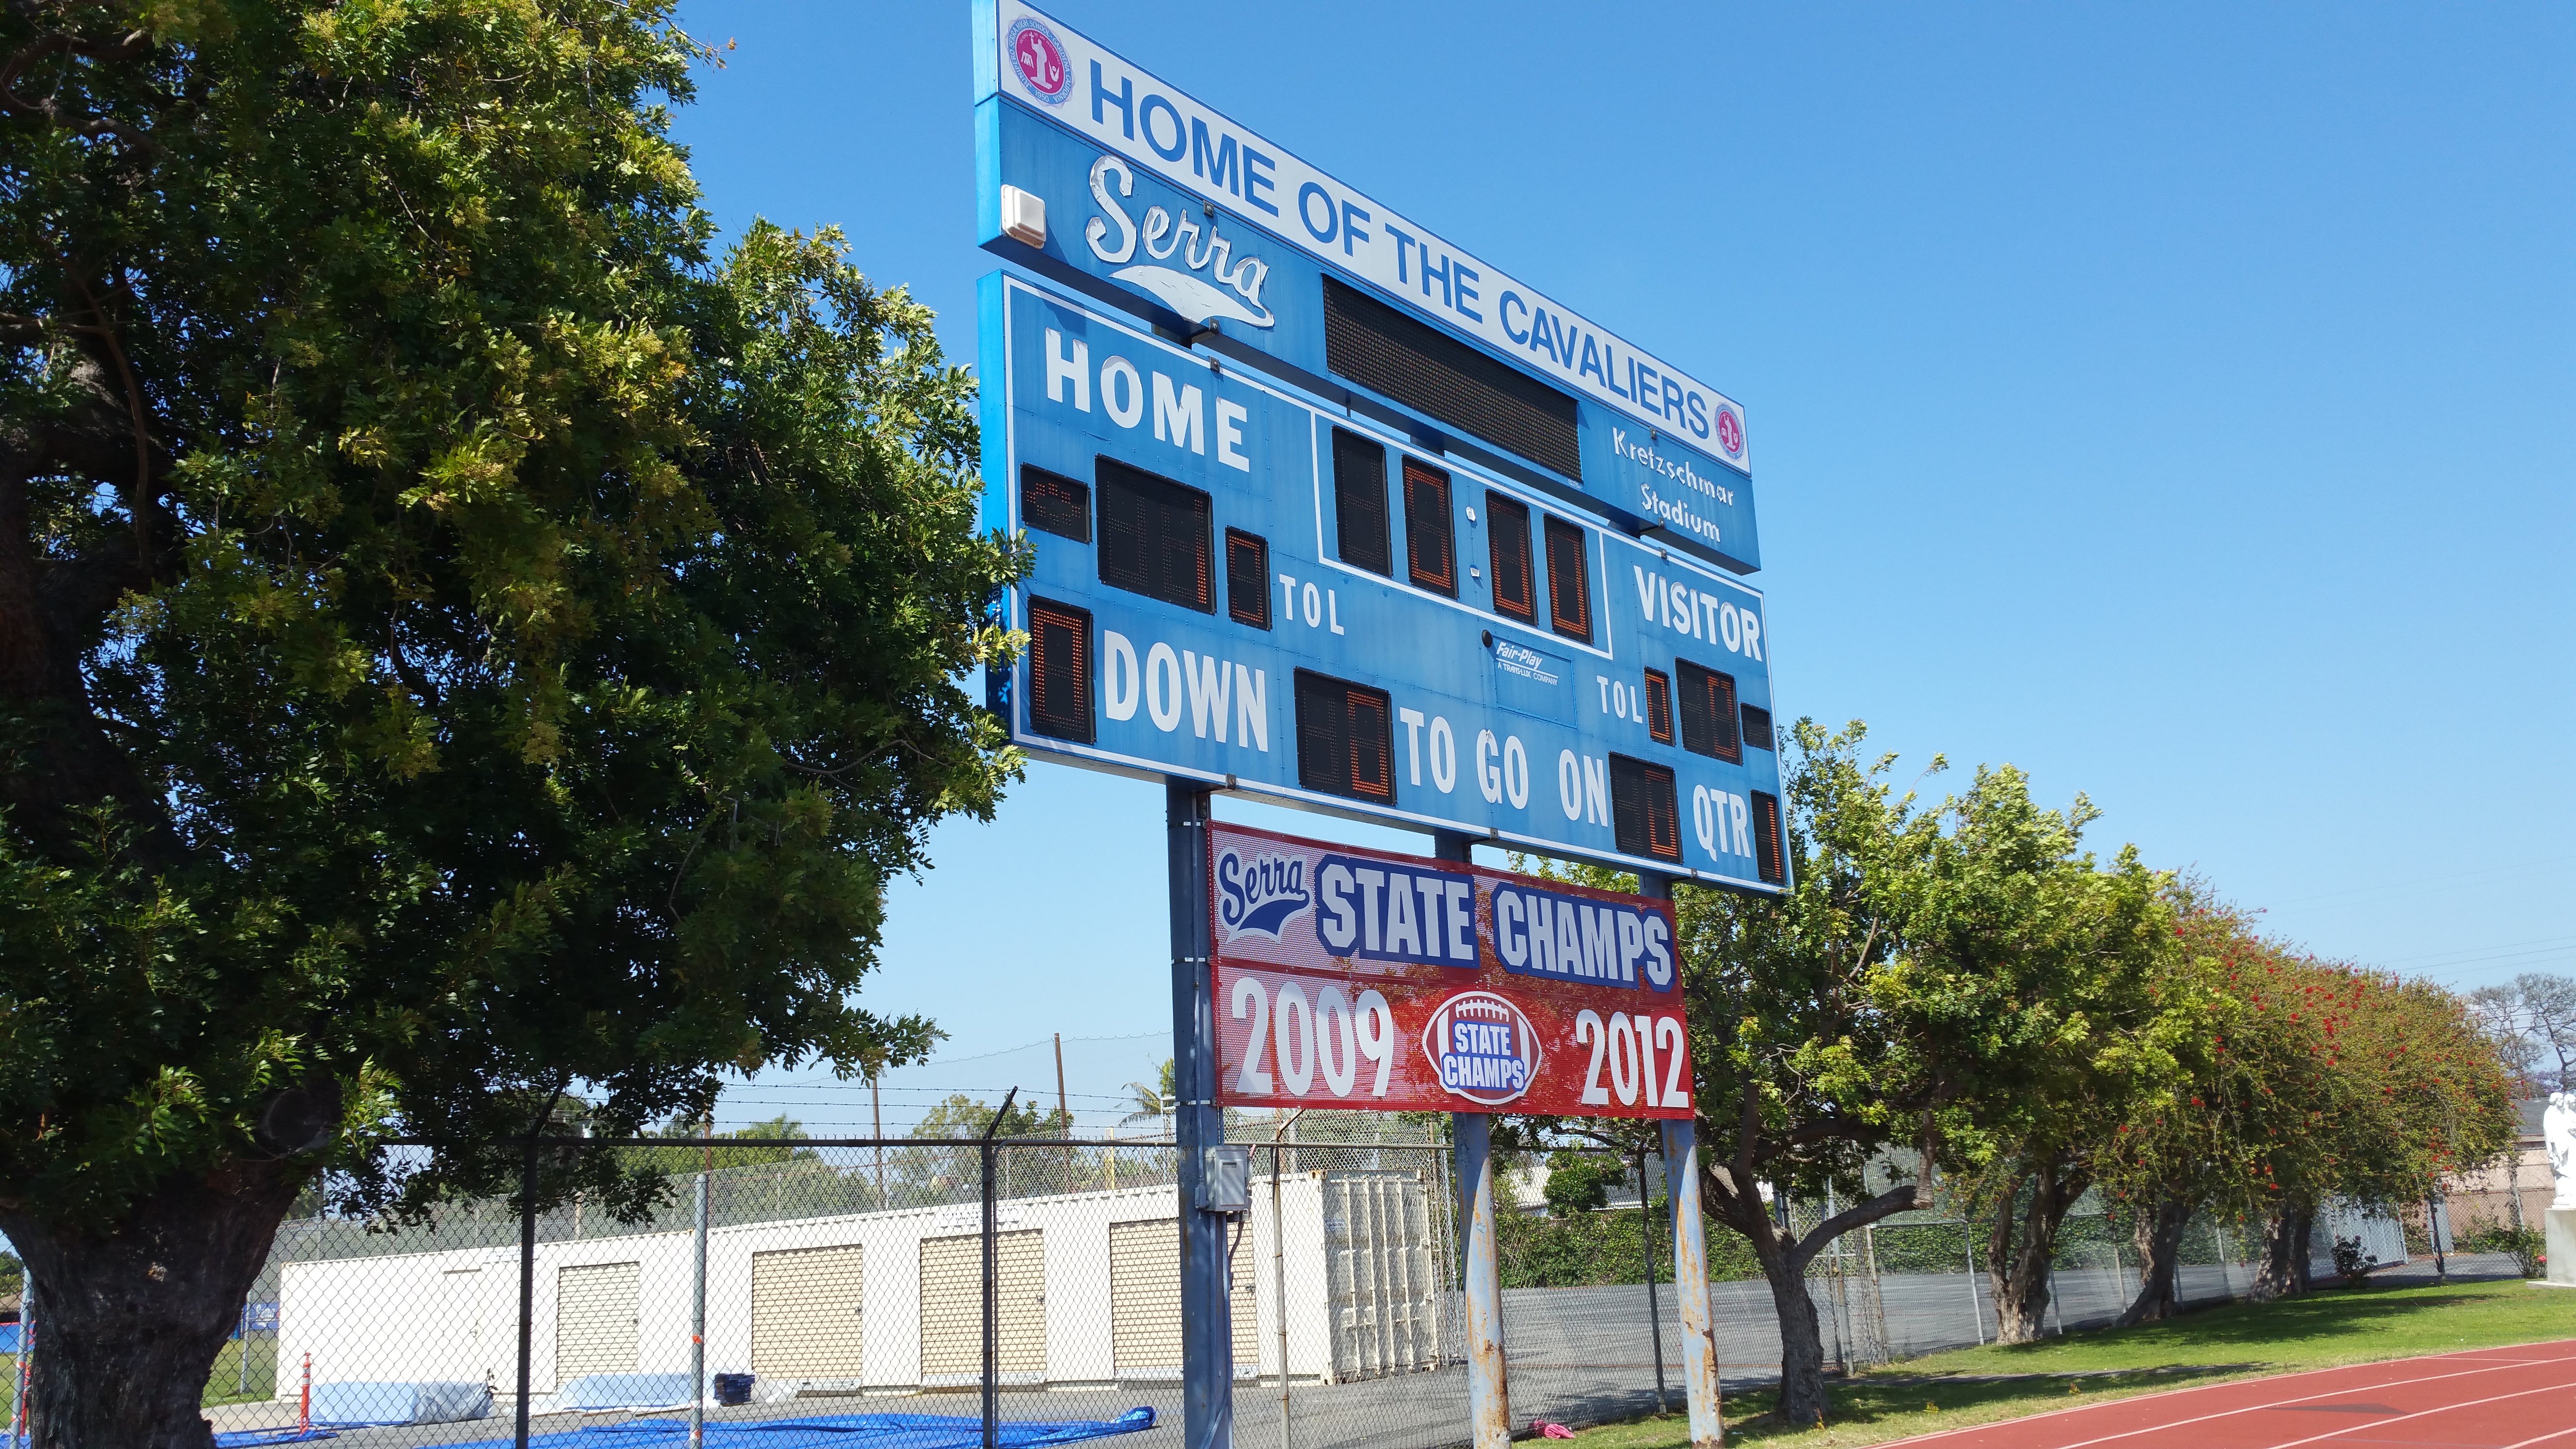
Next, our attention turned to the scoreboard display. This is a location where wind can be an issue and if this display was solid material it could end up blowing off it’s attachments! That’s something nobody wants. We used perforated aluminum for the backing panel, attached to aluminum strips which in turn were bolted to brackets strapped to the posts.
First, the straps on the posts — these are the permanent, stainless steel “Band-It” straps that city agencies use; a big step up in durability from the typical product used by sign shops. They require a special tool to install, but they don’t come loose. Here’s one:

Next step, install the horizontal aluminum strips onto the brackets, and screw on the painted perforated aluminum panels:

The graphics are cut-out Dibond aluminum composite material, pre-coated white. Computer cut vinyl and digitally printed vinyl provide the color. The individual letters and logos were attached with screws and silicon to the mesh aluminum:
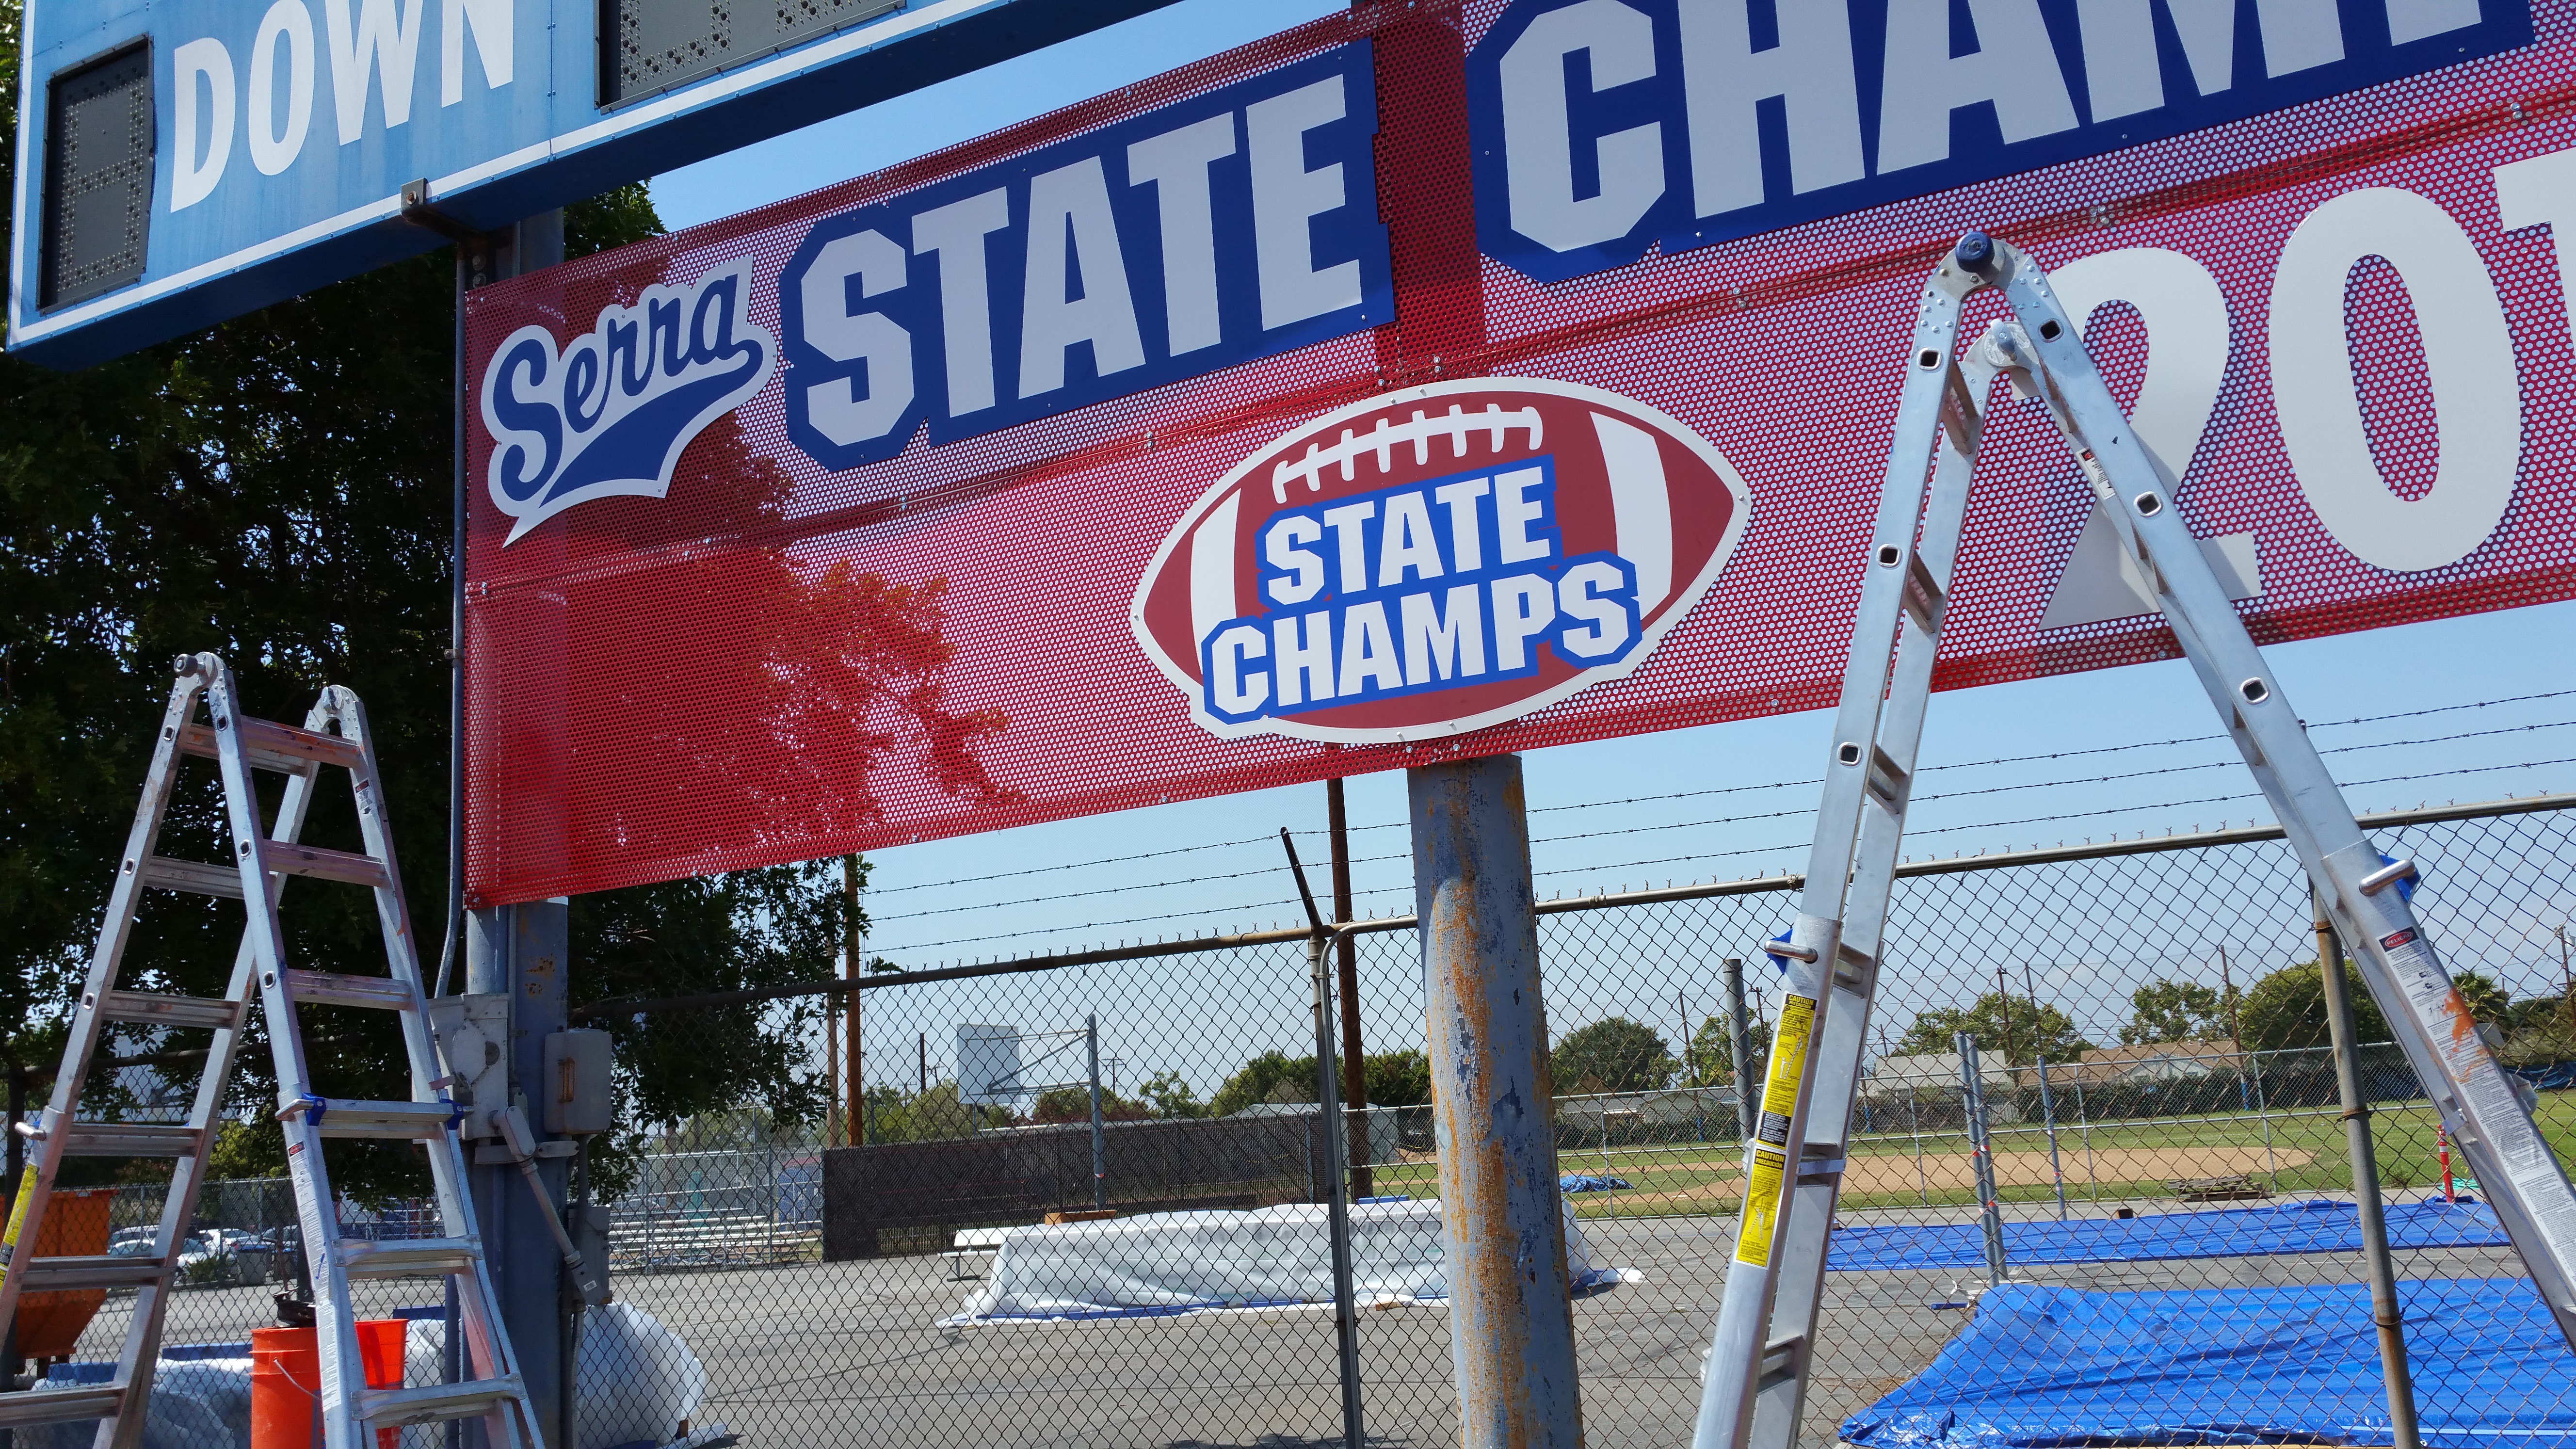
And, here’s the finished product — built to last:

One more thing — the digitally printed mesh banner celebrating their baseball championship. Mesh banner windscreen material works well in windy locations for large banners. Here’s the result:


You must be logged in to post a comment.